Analysis Tab Guide
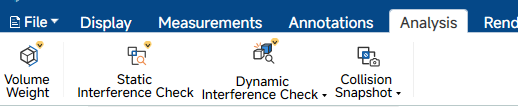
The Analysis tab provides tools for calculating volume and weight, performing static and dynamic interference checks, and managing collision snapshots for design validation.
1. Volume / Weight
1.1 Function
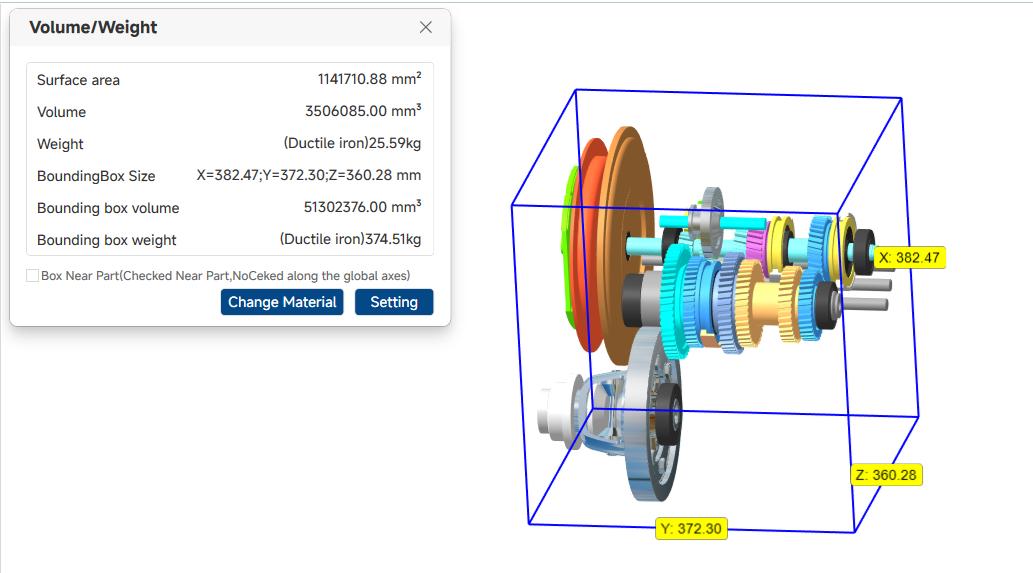
Calculates and displays the surface area, volume, bounding box dimensions, and estimated weight of the selected model or assembly. The result panel updates in real time when the selection changes.
1.2 Operation
- Click the Volume / Weight button. The Volume/Weight panel opens.
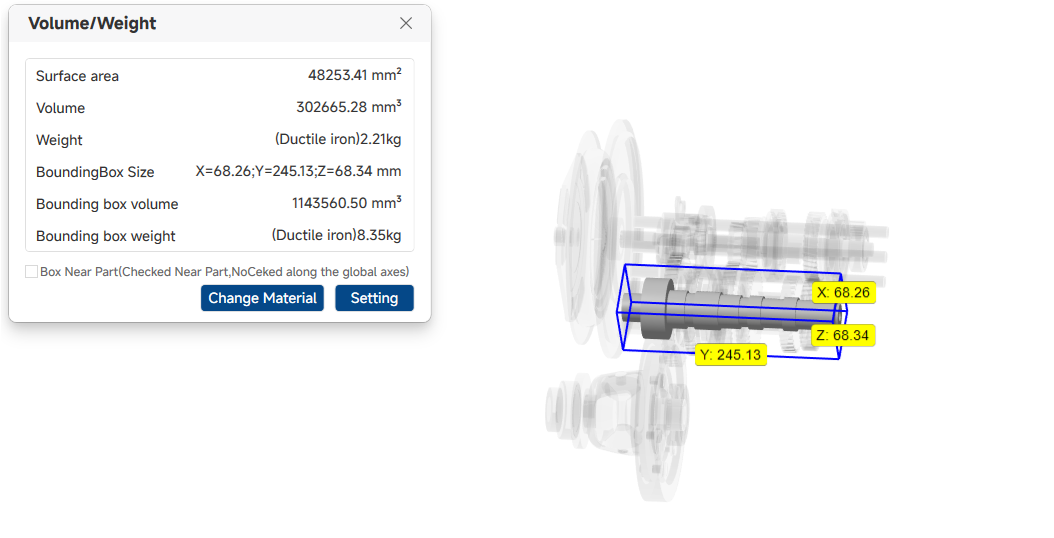
- Click a part or assembly in the 3D viewport. The panel updates to show the surface area, volume, weight, and bounding box data for the selection. When no object is selected, the top-level assembly is used.
- Check Box Near Part to fit the bounding box tightly to the part geometry rather than along global axes.
- Close the panel or click the button again to exit the command.
1.3 Change Material
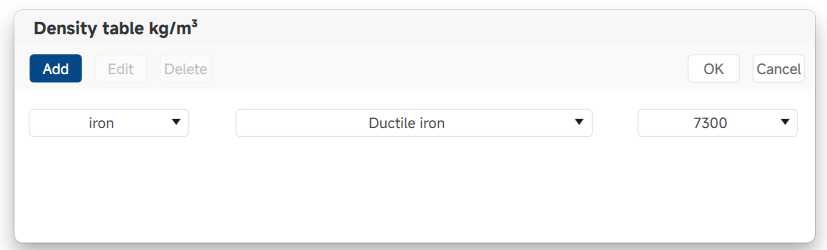
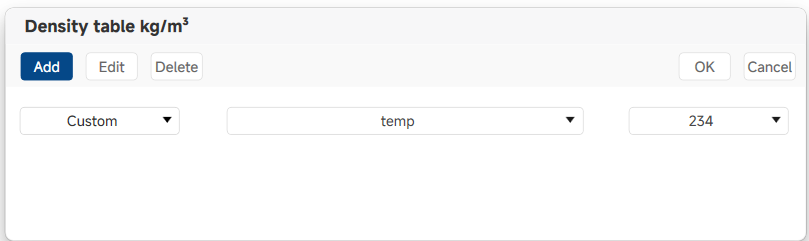
- Click Change Material. TheDensity table panel opens.
- Select a material category from the left drop-down and a specific density value from the right drop-down. The weight is recalculated immediately.
- Click OK to confirm.
1.4 Custom Density
- In the Density table panel, click Add. The Add custom density dialog opens.
- Enter the material Name andDensity (in kg/m³), then click OK. The custom entry is added to the density list.
- Existing custom entries are editable or removable via Edit and Delete.
1.5 Unit Settings
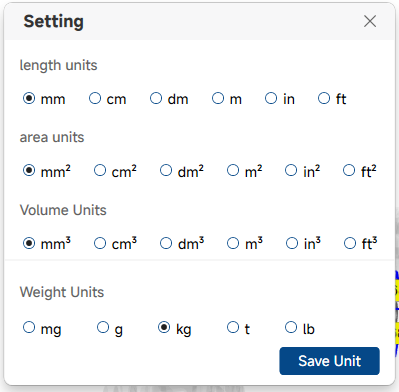
- Click Setting. The Setting dialog opens.
- Select the preferred unit for each category: length (mm / cm / dm / m / in / ft), area (mm² – ft²), volume (mm³ – ft³), and weight (mg / g / kg / t / lb).
- Click Save Unit to apply.
2. Static Interference Check
2.1 Function
Performs a static interference check between selected parts to detect collisions or clearance violations between them.
2.2 Operation
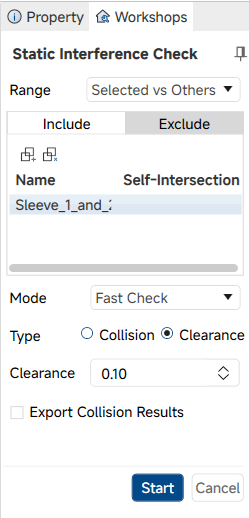
- Click the Static Interference Check button. The Static Interference Check panel opens.
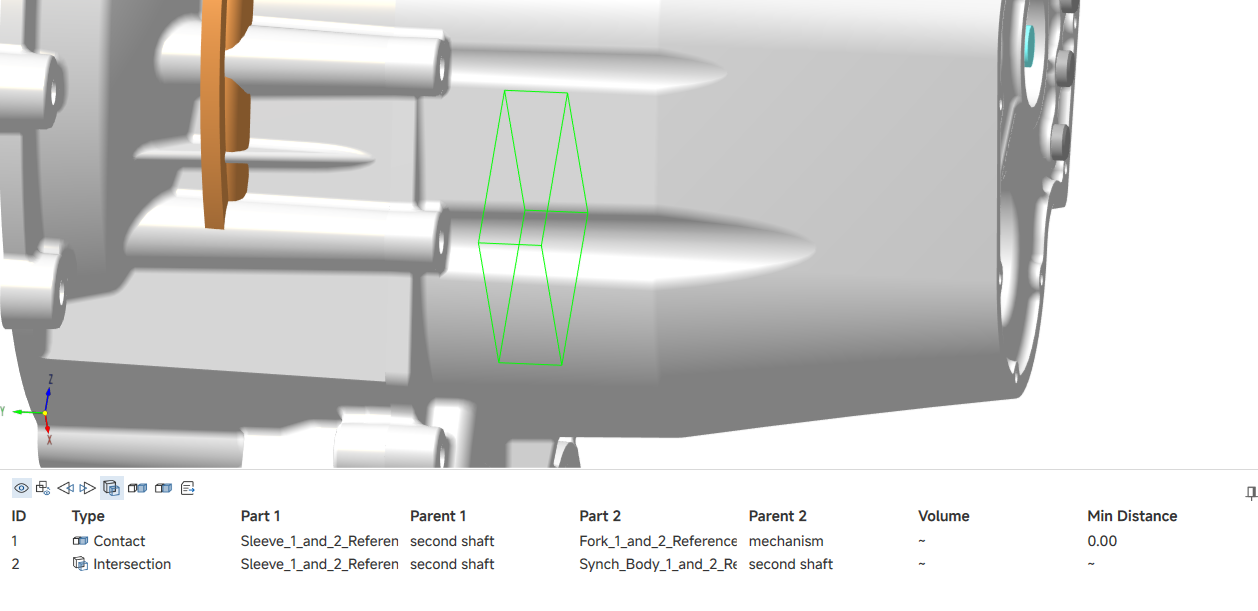
- Configure the check parameters in the panel, then click Start. The engine computes the interference and the detected pairs are listed in the results panel.
- Click a result row to highlight the involved parts in the 3D viewport.
- Click Cancel to exit without running the check.
2.3 Panel Options
- Range — scope of the check. Options: Selected Parts Only (checks only the selected parts against each other), Selected vs Others (checks selected parts against all other parts), or Selected Groups (checks between two user-defined groups).
- Include / Exclude — use the Include tab to add parts to the check list; use the Exclude tab to remove specific parts from the calculation.
- Mode — detection algorithm. Fast Check performs a rapid surface-level test; other modes provide more precise volumetric analysis.
- Type — Collision detects geometrical intersections; Clearance reports pairs whose minimum distance is below the specified threshold.
- Clearance — threshold value used when Type is set to Clearance.
- Export Collision Results — when checked, the result data is saved to a file automatically after the check completes.
3. Dynamic Interference Check
3.1 Function
Enables real-time interference detection while manually moving or rotating parts in the 3D viewport, allowing interactive collision monitoring during assembly simulation.
3.2 Operation
- Click the Dynamic Interference Check button. The motion collision engine starts and the Translate & Rotate panel opens in the Workshops pane.
- In the Translate & Rotate panel, select the models to move and configure the operation parameters (Type, Direction, Ref, Distance / Angle). Parts can also be moved or rotated directly using the manipulator in the 3D viewport. Any detected collision is highlighted in real time.
- Click the Dynamic Interference Check button again or press Esc to exit the command. The motion collision engine stops.
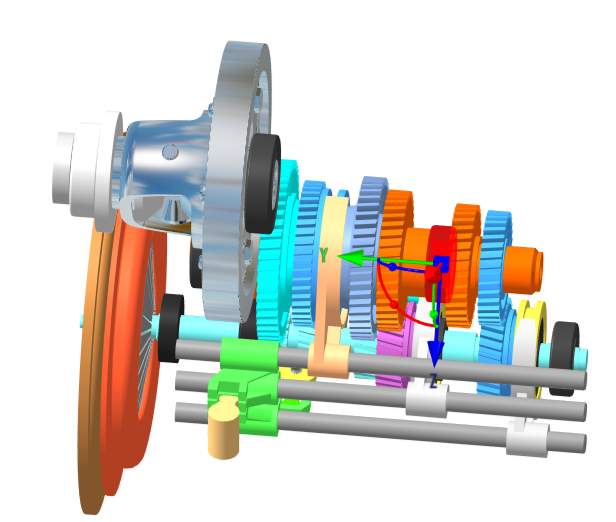
3.3 Preference
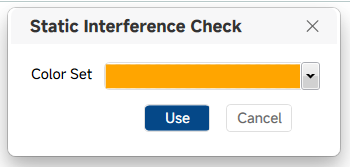
Click the arrow on the Dynamic Interference Check split button and select Preference to set the interference highlight color.
4. Collision Snapshot
4.1 Function
Saves the current interference check results to a file or restores a previously saved result set, enabling the sharing or archiving of collision analysis data.
4.2 Operation
4.2.1 Save
- After completing a Static Interference Check, click Collision Snapshot → Save. A save dialog opens with a default file name based on the current model.
- Choose a save location and click Save. The interference data is exported as a .cls file.
4.2.2 Open
- Click Collision Snapshot → Open. A file browser opens; select a .cls file.
- The saved interference configuration and results are restored. The 3D viewport highlights the previously detected collision pairs, and the result table is repopulated.






全部评论